Getting Started with Chef on Windows Server – Part 3 – Vagrant, Windows, and Managed Chef
In the previous two parts (Intro and Chef Server & Bootstrapping) we used a plain old VirtualBox VM with Windows 2012 R2 as our Chef client, which required downloading VHDs, registering them as individual VMs and then installing Chef manually. Part 2 even required that you still had your old VM from the first session lying around in order to start where you left off!
This is not very chicken farm of us, and, I’ve since learned, really doing it the hard and old-fashioned way. So what’s the easy way?
Vagrant
Vagrant is a tool for building complete development environments. With an easy-to-use workflow and focus on automation, Vagrant lowers development environment setup time, increases development/production parity, and makes the “works on my machine” excuse a relic of the past.
For anyone that has familiarity with AWS, I describe Vagrant as (loosely) CloudFormation for VirtualBox (other hypervisors are supported!).
It allows you to easily spin up an environment based on any template found on VagrantCloud.com, bootstrap it, test it, throw it away and start again.
So go and download it, I’m sure you’ve already got VirtualBox installed, but if not, download that too.
Exercise
Prerequisites
- Vagrant
- Virtualbox
- Chef Client/DK
- Some awareness of what Chef is
- Some familiarity with VirtualBox
- Some familiarity with scripting/cmdline
We’re going to use Vagrant to setup a Windows 2012 R2 virtual machine, install Chef client on it, and apply a basic cookbook. Once you’ve done this you’ll have a great platform for creating and testing your own cookbooks without having to manage redeploying VMs manually.
1) Setup Managed Chef
For the purposes of this trial run of Chef inside Vagrant, we’re going to use Managed Chef.
Managed Chef is Chef hosted by OpsCode, sorry Chef (the company), relieving you of the necessity to setup your own server and host it yourself. If you’re interested in setting up your own Chef Server, see Getting Started with Chef on Windows Server Part 2 Chef Server & Bootstrapping.
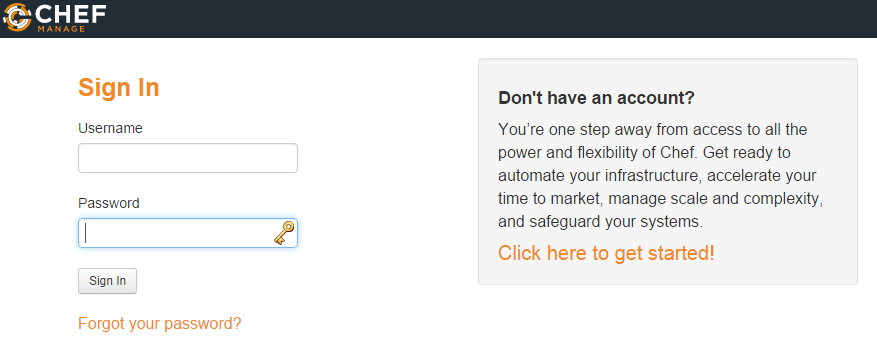
Visit manage.opscode.com and register for a free account (up to 5 nodes).
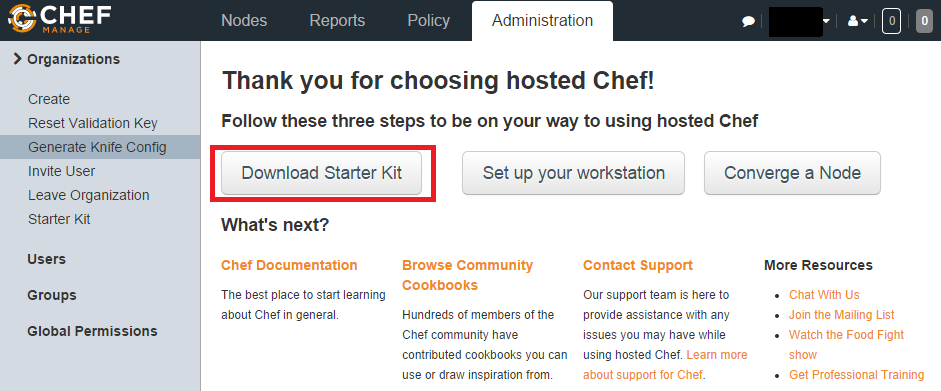
Once you’ve signed in, download the starter kit and extract the contents to a new directory called “vagrant-chef-windows” somewhere in your My Documents folder.
Important: It is imperative that you create this folder in your My Documents, or some other subfolder within your user’s home directory. Vagrant, Chef, and other tools which have their roots in Linux, use the current working directory and sometimes the user’s home directory in order to figure out where to look for their configuration files. Always be aware of your CWD when executing Vagrant and Chef commands, as it’s surprisingly important!
Now we’re setup, you’re ready to start with Vagrant!
2) Setup Windows Chef with Vagrant
Windows in Vagrant is pretty tried and tested now it seems. Although support for Windows hosts was only officially added in April 2014, it was a plugin for quite a while before that.
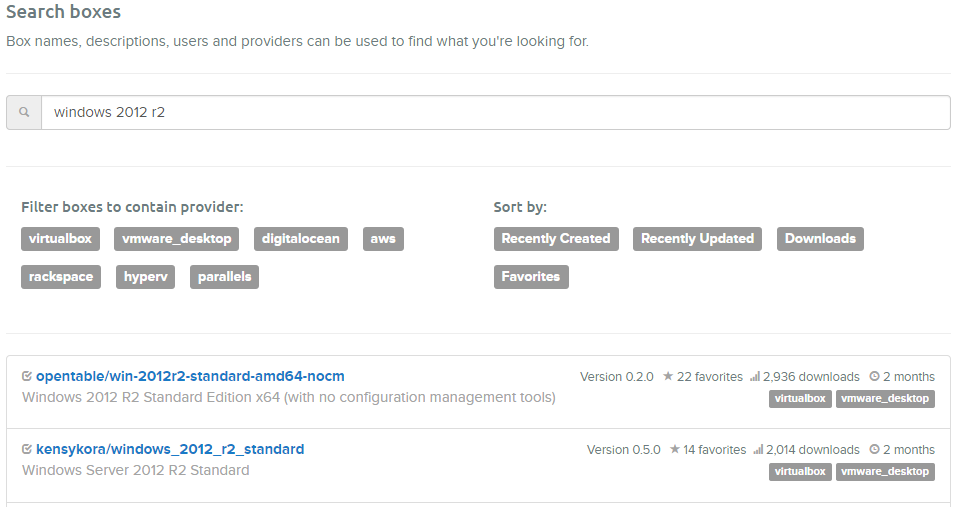
Nonetheless, the selection of “Boxes” (VM templates) on vagrantcloud.com is pretty limited right now, presumably due to licensing concerns.
The most popular Windows 2012 R2 box is currently one provided by OpenTable, however it seems to have issues with password expiry, so, we’ll go with the second most popular, the one by kensykora.
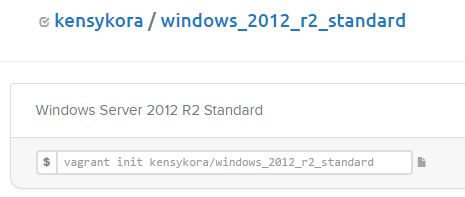
If you open up the link to that box, you’ll see a handy command in a textbox, ready for you to copy out.
Copy that command, open a new PowerShell window on your computer, create a new folder in your My Documents called “vagrant-chef-windows”, then execute the command:
vagrant init kensykora/windows_2012_r2_standard
 This creates a Vagrantfile in the directory in which you’ve executed the command.
2.1) Setup Initial Vagrant Configuration
Open the Vagrantfile in your favourite text editor, and replace the contents with the following:
VAGRANTFILE_API_VERSION = '2'
Vagrant.configure(VAGRANTFILE_API_VERSION) do |config|
  # Every Vagrant virtual environment requires a box to build off of.
  config.vm.box = 'kensykora/windows_2012_r2_standard'

  # Forward ports
  config.vm.network 'forwarded_port', guest: 80, host: 8080

  config.vm.provider 'virtualbox' do |vb|
    # Don't boot with headless mode
    vb.gui = true
  end

  # Shell Provisioning
  config.vm.provision 'shell' do |shell|
    shell.path = 'install-chef.ps1'
  end
end
The configuration file is Ruby based, and does several things.
- Provisions the VM based on kensykora/windows_2012_r2_standard (downloading it if necessary)
- Forwards port 80 in the guest machine to port 8080 on your machine (the host)
- Pops up a Virtualbox window with the guest’s console for simplicity’s sake
- Executes install-chef.ps1 in the guest
Take a few moments to pair up the list above with the lines in the configuration file, once you have, you’ll wonder “where the hell is it getting install-chef.ps1 from?”. At the moment, it isn’t.
2.2) Use PowerShell Bootstrapping to Instal Chef
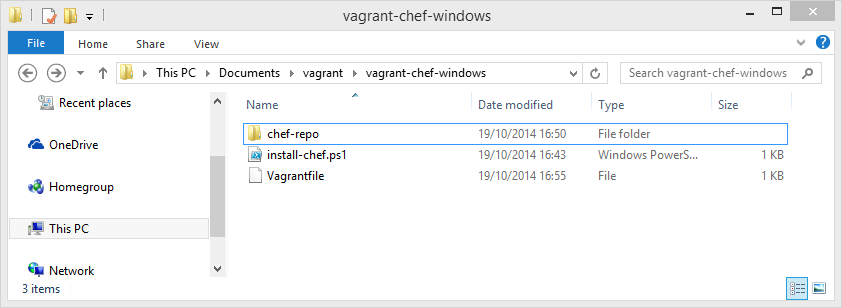
Create a new file in your vagrant-chef-windows directory called *install-chef.ps1 *and populate it with the following:
$progressPreference = 'silentlyContinue';
$chefInstaller = 'C:vagrantchef-windows-11.16.2-1.windows.msi';
$chefInstallerUri = "https://opscode-omnibus-packages.s3.amazonaws.com/windows/2008r2/x86_64/chef-windows-11.16.2-1.windows.msi";

if(!(test-path $chefInstaller)){
  Write-Host "$(Get-Date) Downloading Chef...";
  Invoke-WebRequest -Uri $chefInstallerUri -outfile $chefInstaller;
}

if(!(Test-Path "C:chef")){
  Write-Host " $(Get-Date) Installing Chef";
  Start-Process -Wait -FilePath 'C:\Windows\system32\msiexec.exe' -ArgumentList @('-i',$chefInstaller,'/quiet','/log','C:\tmp\chef-client-install.log')
  Write-Host " $(Get-Date) Installation Complete"
}else{
  Write-Host " $(Get-Date) Chef is already installed!";
}
Ideally, we wouldn’t need to do this as Chef would already be installed in the Box we got from VagrantCloud.com, however, at the time of writing there are no Windows 2012 R2 boxes with Chef pre-installed.
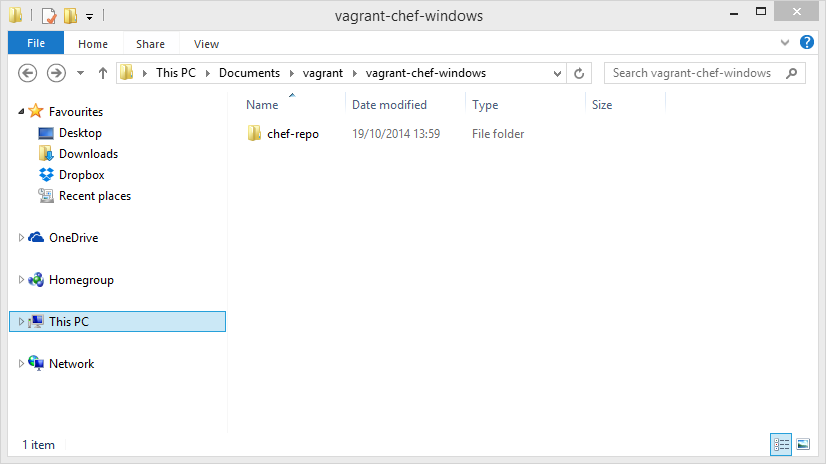
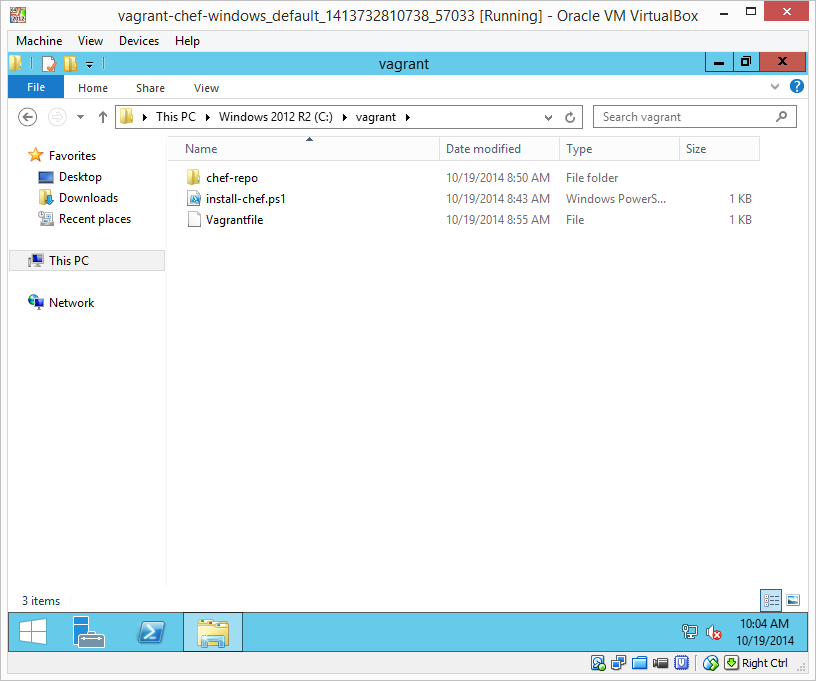
Your folder should now look like this:
2.3) Power On – Vagrant Up
Now, ensure you’re in your vagrant-chef-windows folder in the PowerShell console, then execute:
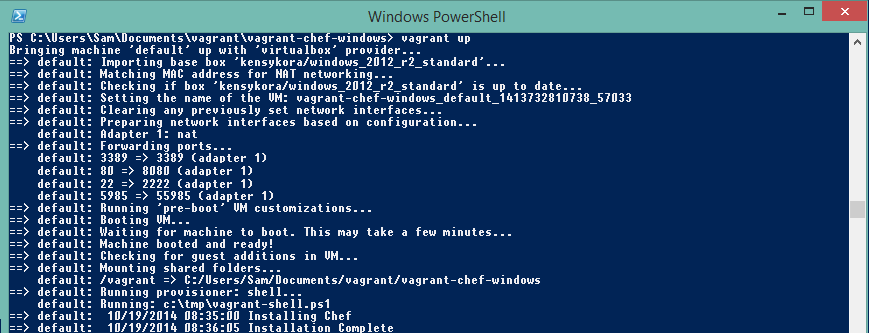
vagrant up
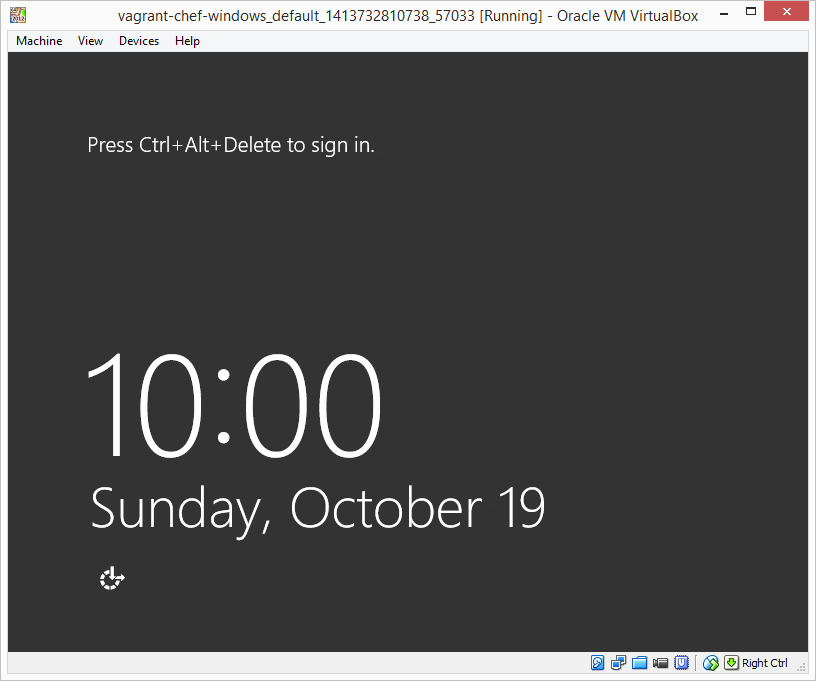
It will scurry off, download the kensykora 2012 R2 box (not shown as I already had it), power up a new VM and execute your ps1. Once complete, you should have a VirtualBox console pop up and allow you to sign in (right ctrl + del = Ctrl + Alt + Delete).
Username: Vagrant
Password: vagrant
If you login, you’ll see C:\chef exists, and if you browse into C:vagrant, you’ll see that the entirety of your vagrant-chef-windows folder is available within the VM!
This is important because almost all file paths you’ll set in your Vagrantfile configuration will be relative to this directory.
2.4) Setup Vagrant Chef Provisioning Configuration
Now it’s time to actually use Chef. But we’re not going to just open up a PS console inside the VM and run chef-client. Oh no, we’re going to use Vagrant’s chef-client provisioning functionality!
That means that every time we deploy a new VM, our PS1 file will install Chef, then Vagrant will run chef-client for us, with the configuration we’ve defined in the Vagrantfile.
Add the following lines to the end of your Vagrantfile (but before the final “end”).
# Chef Provisioning
config.vm.provision 'chef_client' do |chef|
  chef.chef_server_url = 'https://api.opscode.com/organizations/orgname'
  chef.node_name = 'node20141019'
  chef.validation_client_name = 'orgname-validator'
  chef.validation_key_path = "chef-repo\.chef\orgname-validator.pem"
  chef.add_recipe 'learn_chef_iis'
end
You will, of course, need to replace orgname with your organisation name on the highlighted lines, and amend the node_name if you like.
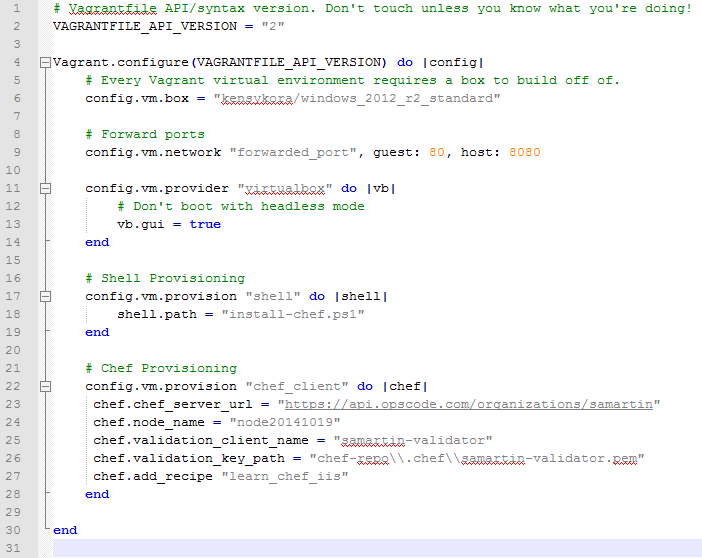
Your Vagrantfile should now look like this:
This code uses the Chef Client we’ve already installed and the orgname-validator.pem which came with our Starter Kit in order to add this guest as a node to our managed Chef environment.
2.5) Upload the Cookbook
But wait, we haven’t got the cookbook learn_chef_iis (a simple Windows/IIS example used by the learnchef.com/windows walkthroughs)! CD into your chef-repo directory and execute:
knife cookbook site download learn_chef_iis
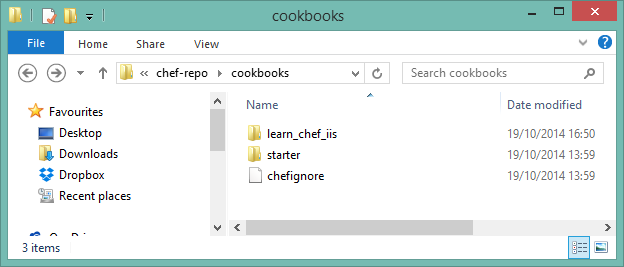
Now extract the resulting tar.gz into your cookbooks subdir.
And finally, upload it to your managed Chef environment.
knife upload learn_chef_iis
2.6) Vagrant Provision
Excellent! The cookbook’s ready to go. Now CD up a level into your vagrant directory and run:
vagrant provision
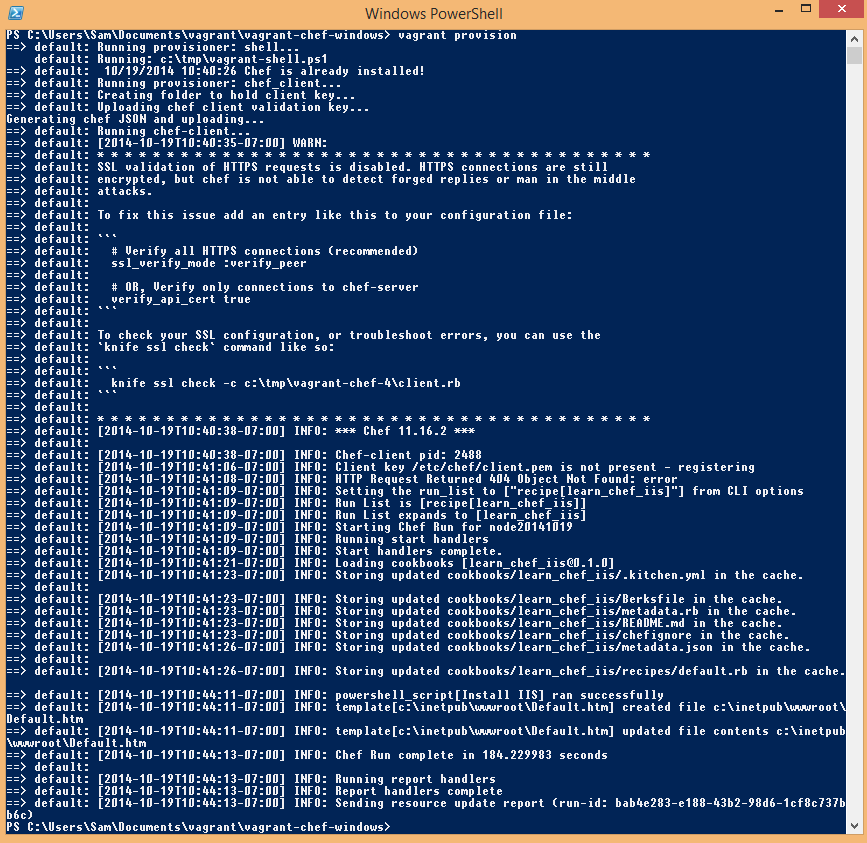
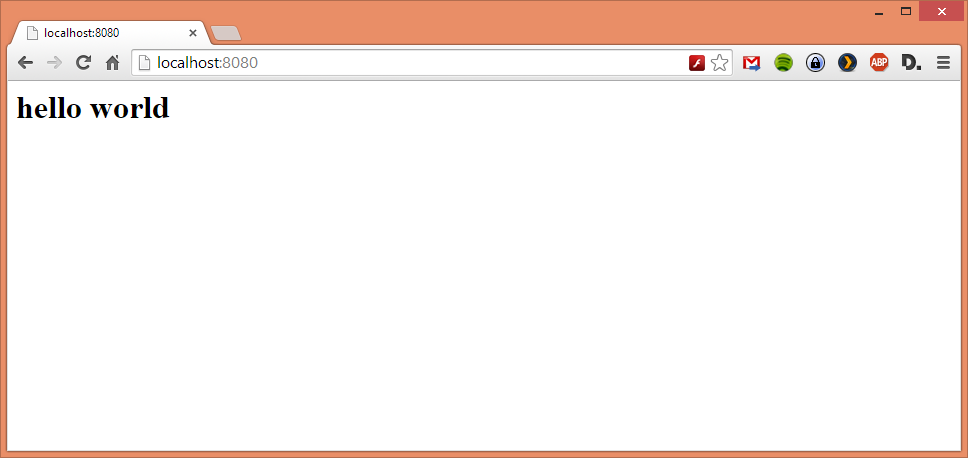
Vagrant has now kicked off a chef-client run with the learn_chef_iis cookbook as its runlist. Once it’s finished (and in combination with the forwarded port we setup earlier) you should now be able to open your favourite browser on your host machine and go to http://localhost:8080 and see…
You’re seeing the results of the IIS webserver that Chef configured in the VirtualBox that Vagrant deployed and bootstrapped for you! Phew
2.7) Redeploy from Scratch
Now for the moment of truth. Delete the node from the managed Chef environment, destroy the VM and redeploy a fresh one based on the configuration we’ve provided!
vagrant destroy -f vagrant up
Wait a little while for Vagrant and Chef to finish doing their thing and you should be able to go back to localhost:8080 again and see exactly the same thing on a fresh VM!
You can use this environment to test the custom cookbooks we created in Part 1, but I’ll leave that to you to figure out in combination with what we’ve done today!
